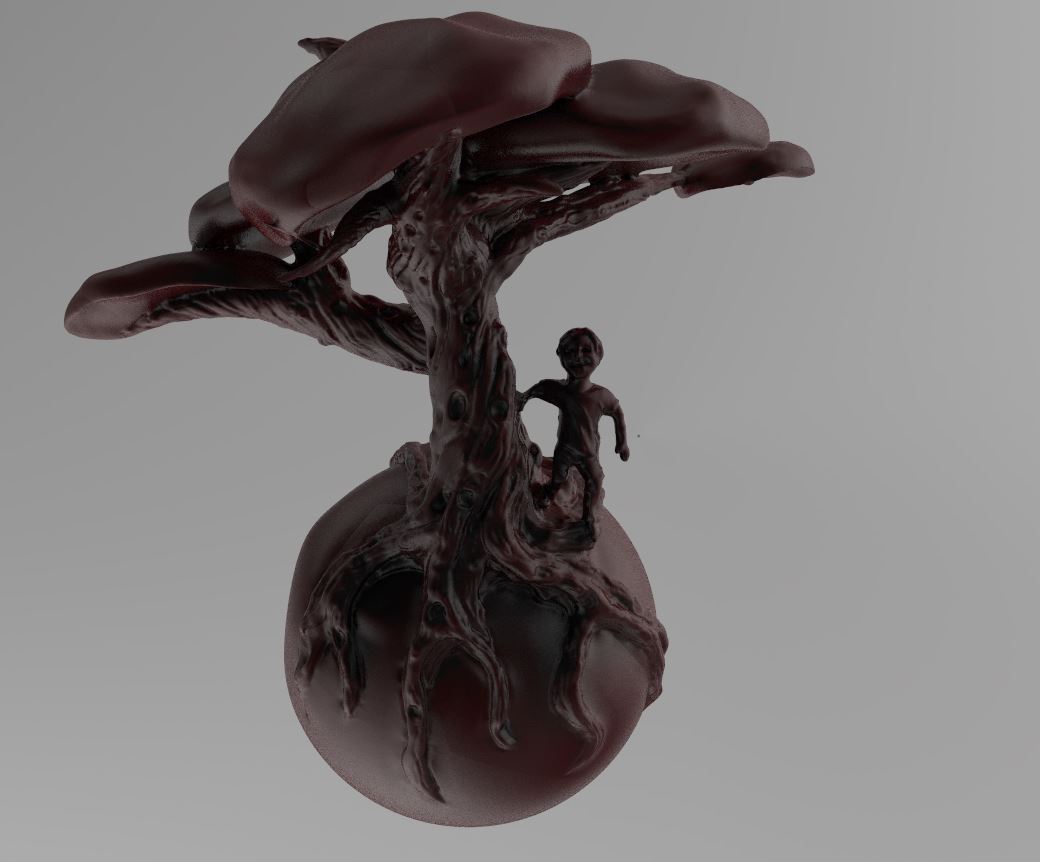
The ZBrush-KeyShot-Photoshop experience continues today with a little painting practice. I selected a quick and dirty bust made from sphere in Zbrush and brought it into Keyshot. Unfortunately I had some hardware issues as it turns out keyshot is a beast and uses 100% of my CPU resources unless my render is set small.
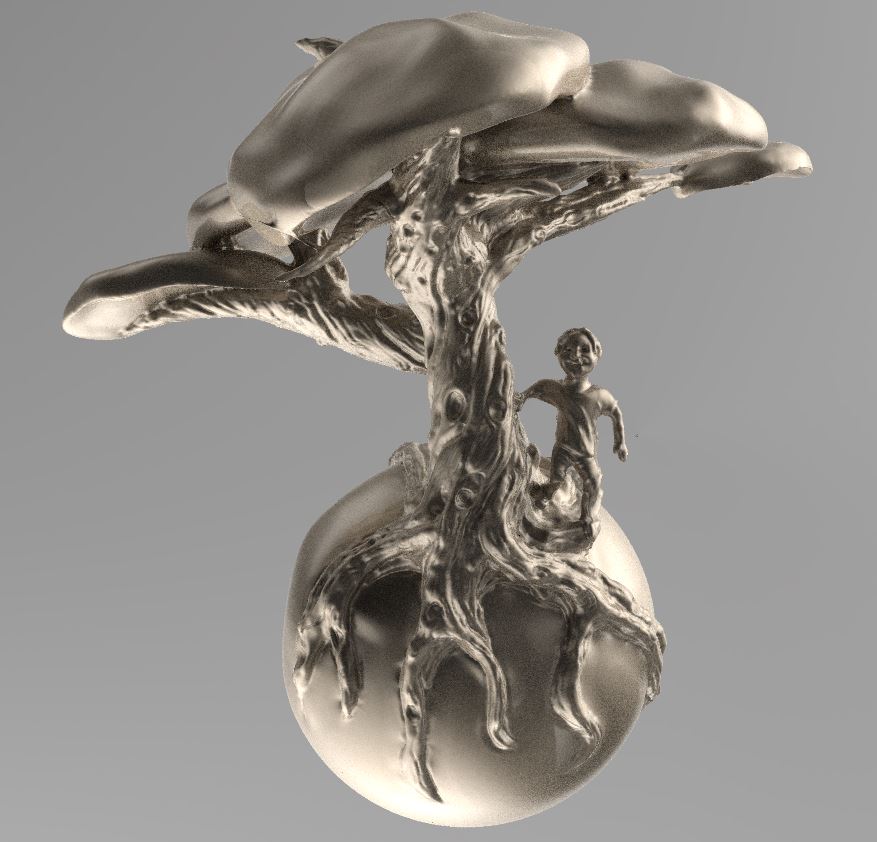
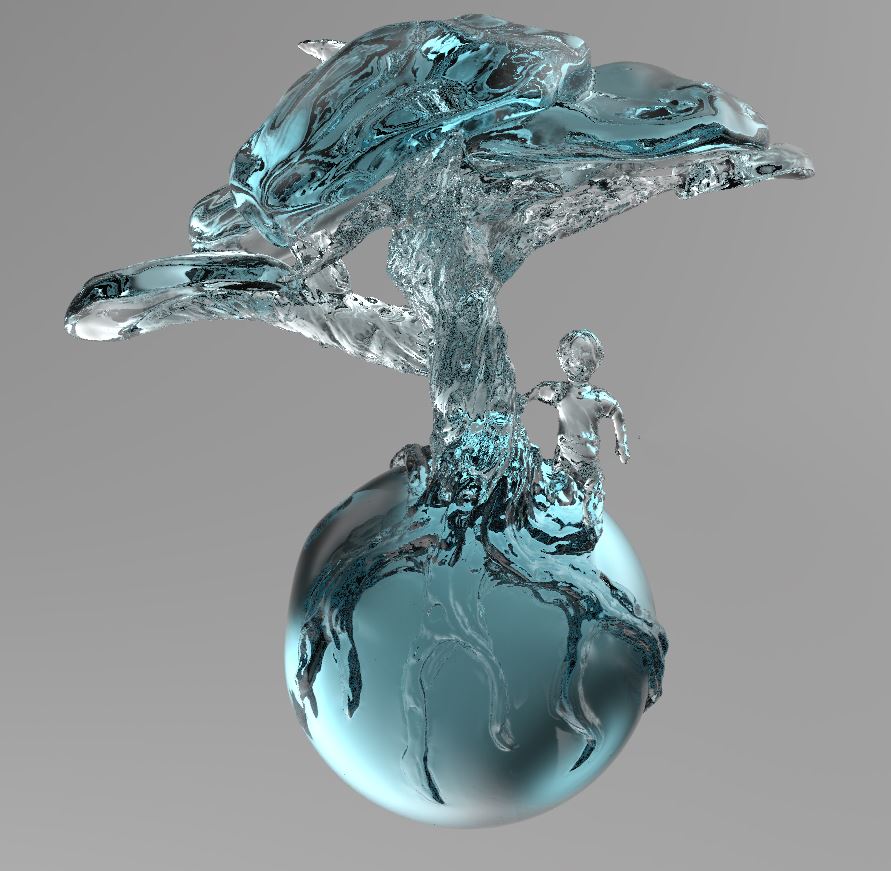
It was a struggle but I managed to get 3 renders of my sculpt out of light shot before I decided to bring it in to photoshop and get used to painting over a sculpt.
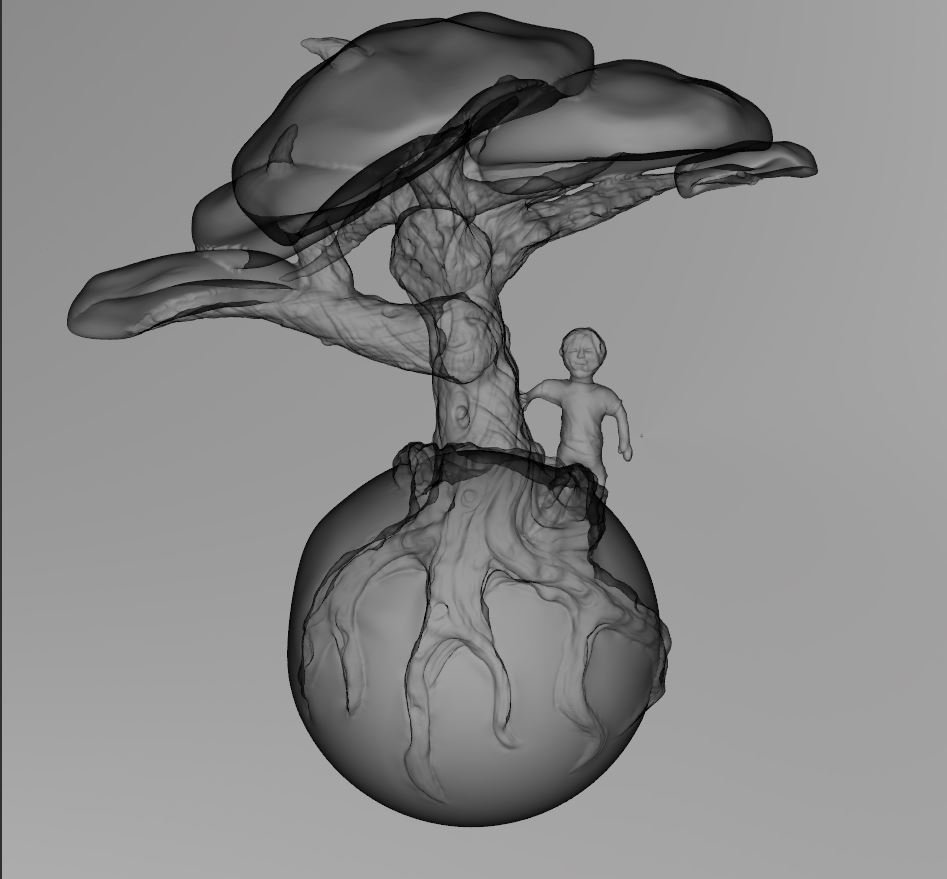
I first layered all 3 of the renders as such:
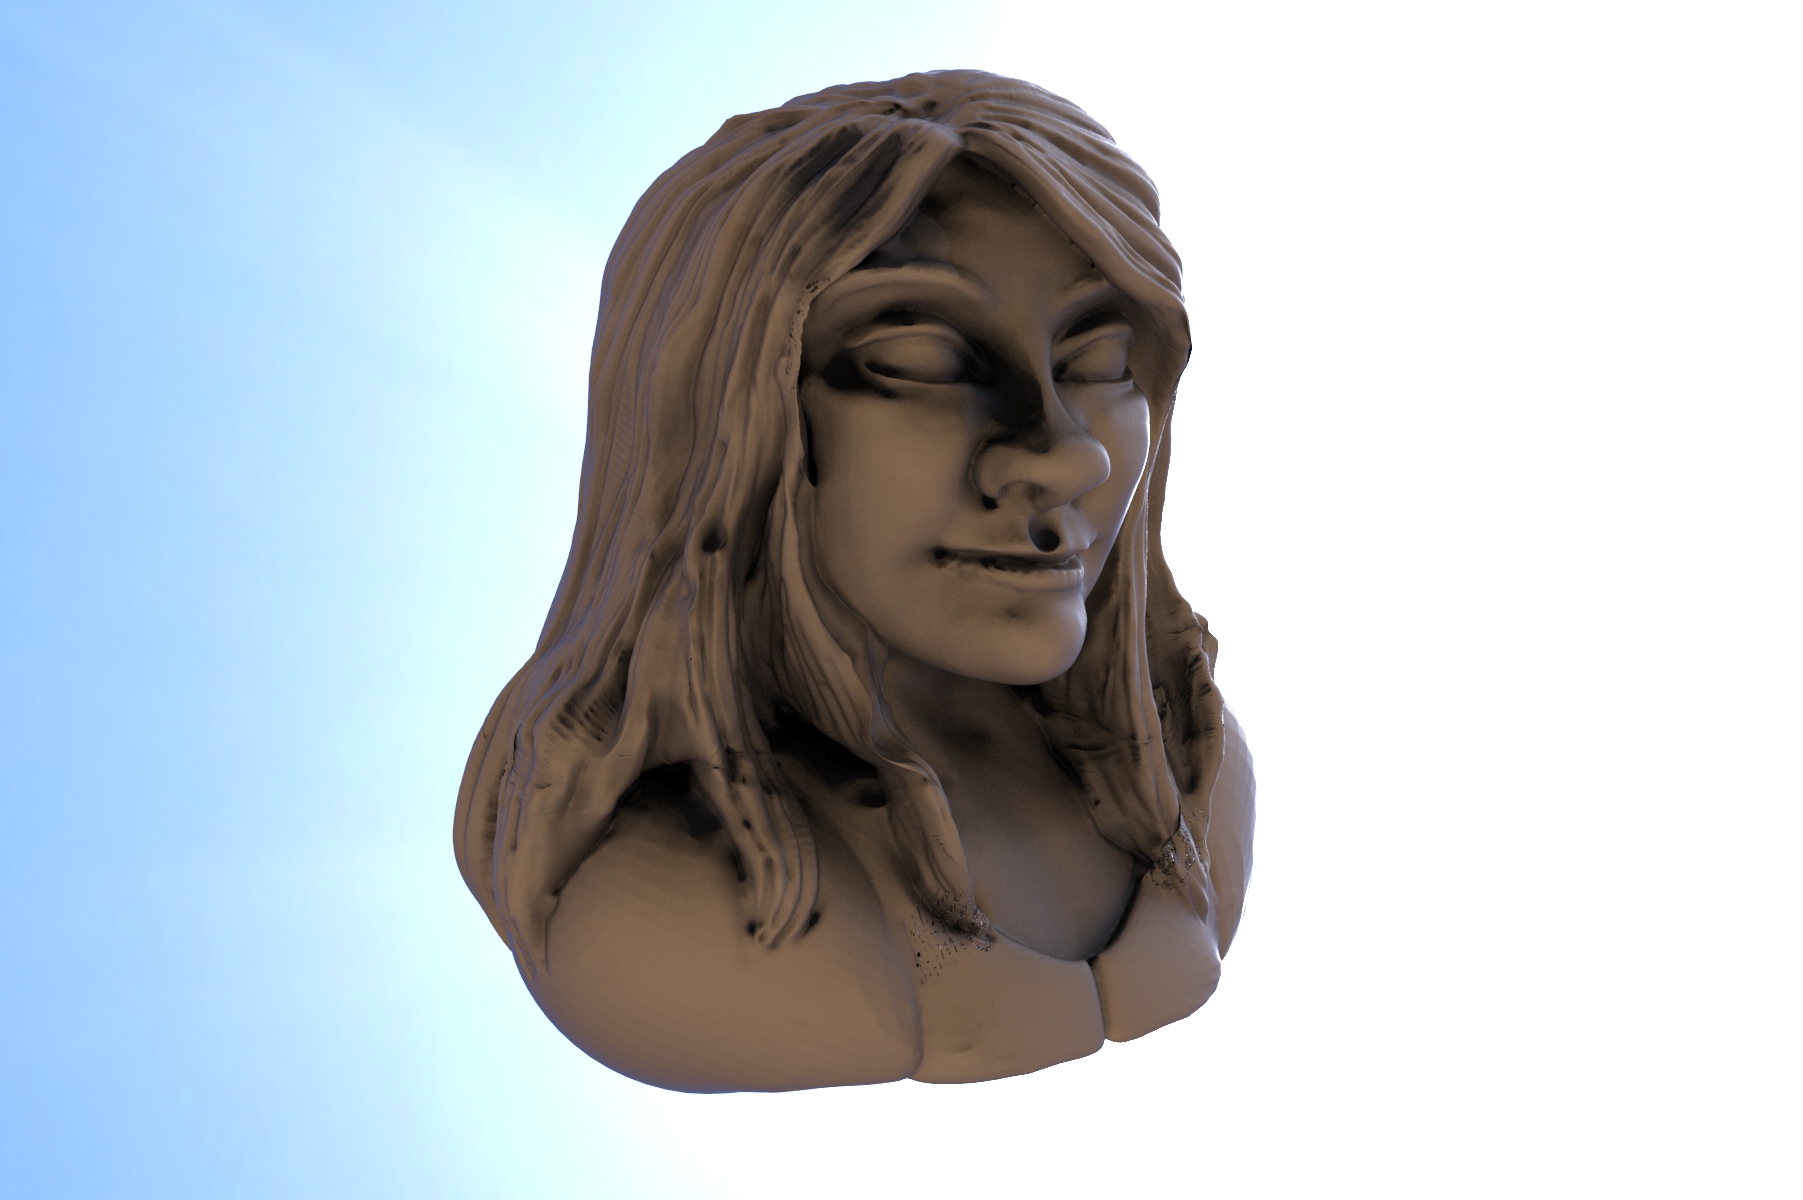
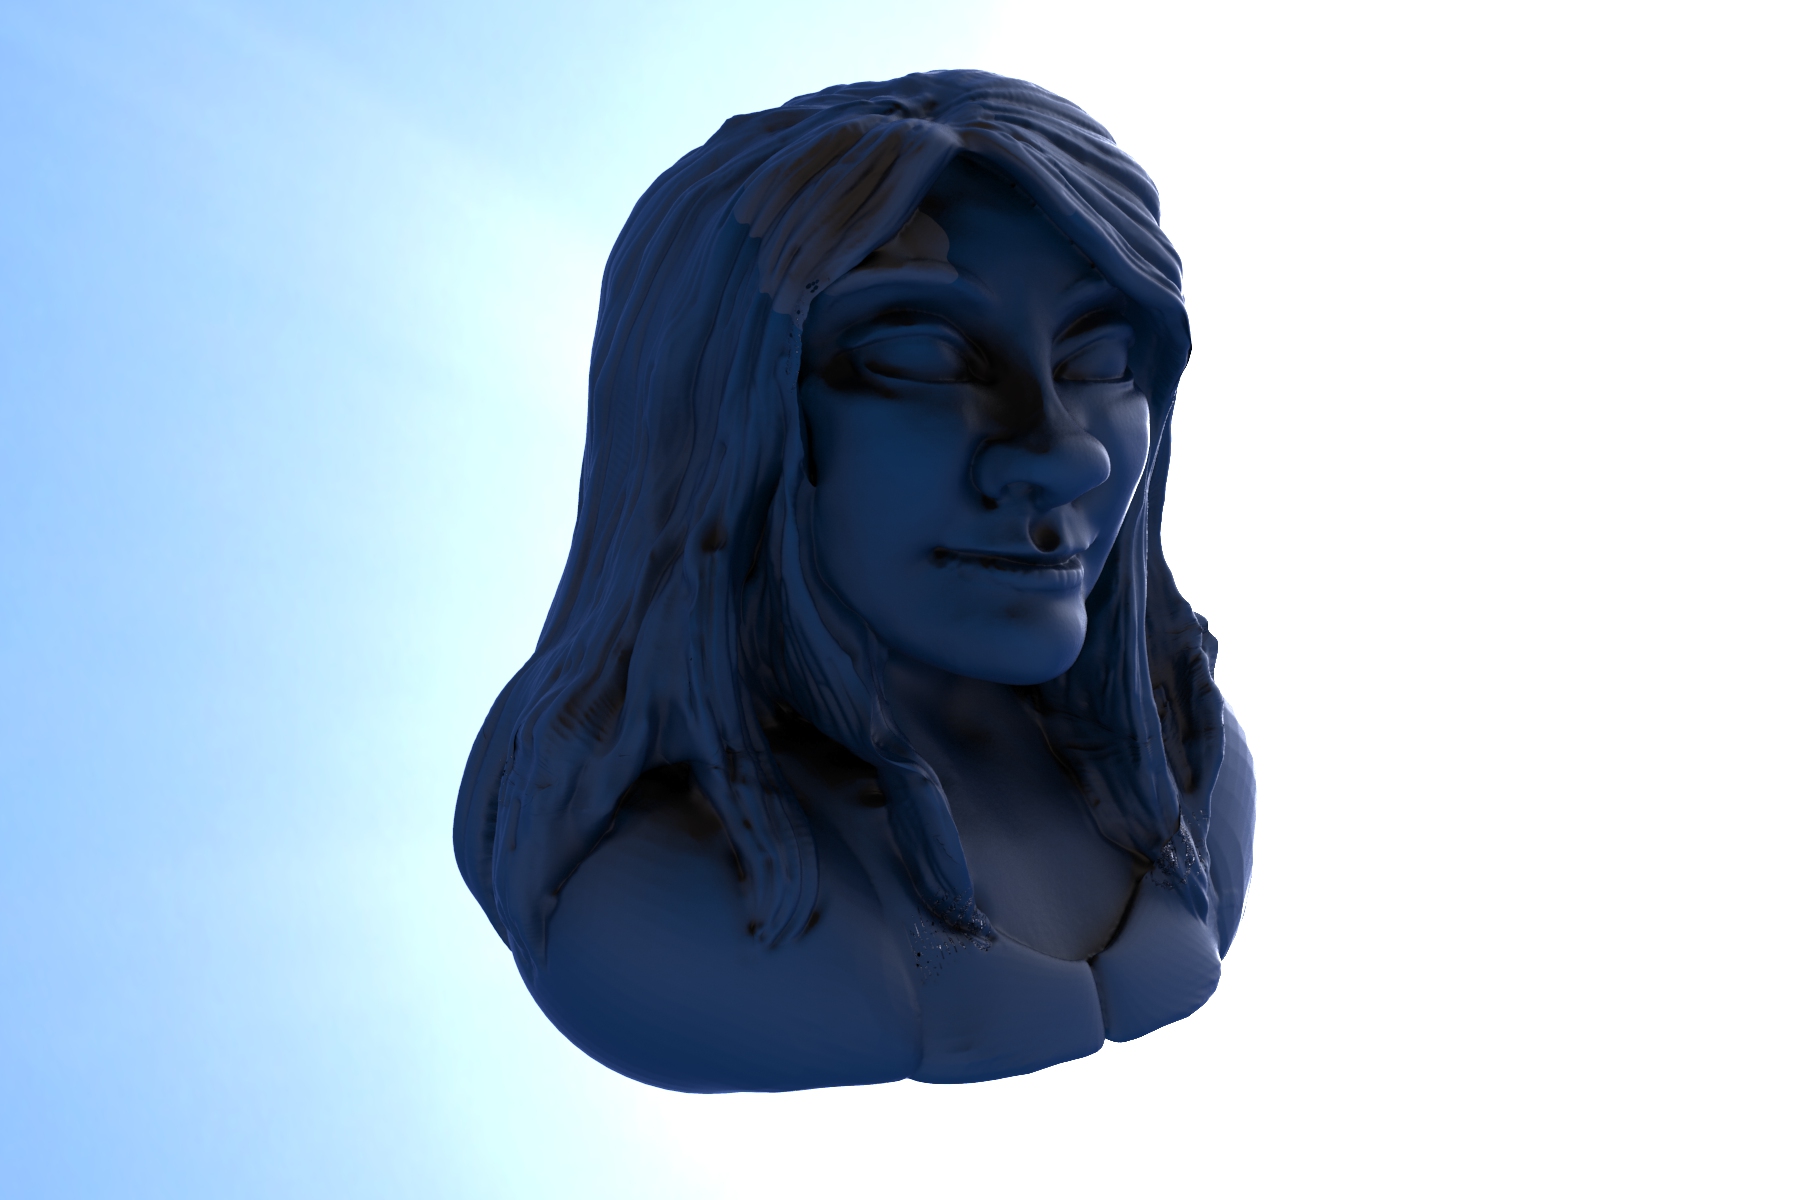

As you can see, there was something a little funky with my mesh in the front forehead area. Also, because this was a quick and dirty sculpt, it's fairly stylized with big disproportionate eyes, bulbous nose, and shortened cranium.
For the purposes of this exercise I wanted it to be obvious that realism was not my end goal.
So after getting these three renders in Keyshot for hair, skin, and shirt, I then took the image - which is now flat 2D image- and brought it into Photoshop.
I layers all 3 of these images and removed, masked until I had beige skin, brown hair, and blue shirt. I then created a new layer and set it to overlay, and did the same with my brush and began painting. When the basic blending and colour blocking was done I created a new normal layer and put in some more opaque details.
The end result is a little more 'soft' than I would like, it gets a little muddy in the nose area but I'm well on my way to figuring out the right balance to paint over my sculpts.